MINIMUM REQUIRED OPERATING SYSTEM: WINDOWS 7 Pro, 8, 8.1, 10 Pro and 11
Double click on the SQL SERVER INSTALLATION SETUP FILE
![]()
Click Ok, to proceed

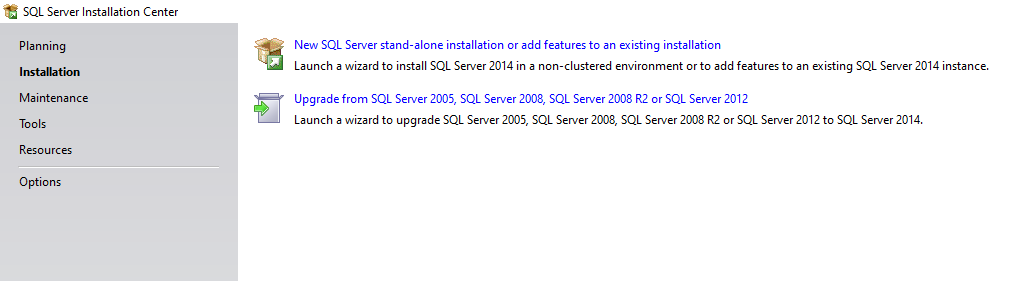
Click on “New SQL Server Stand-alone installation or Add Features to an existing installation” and wait for the next screen.
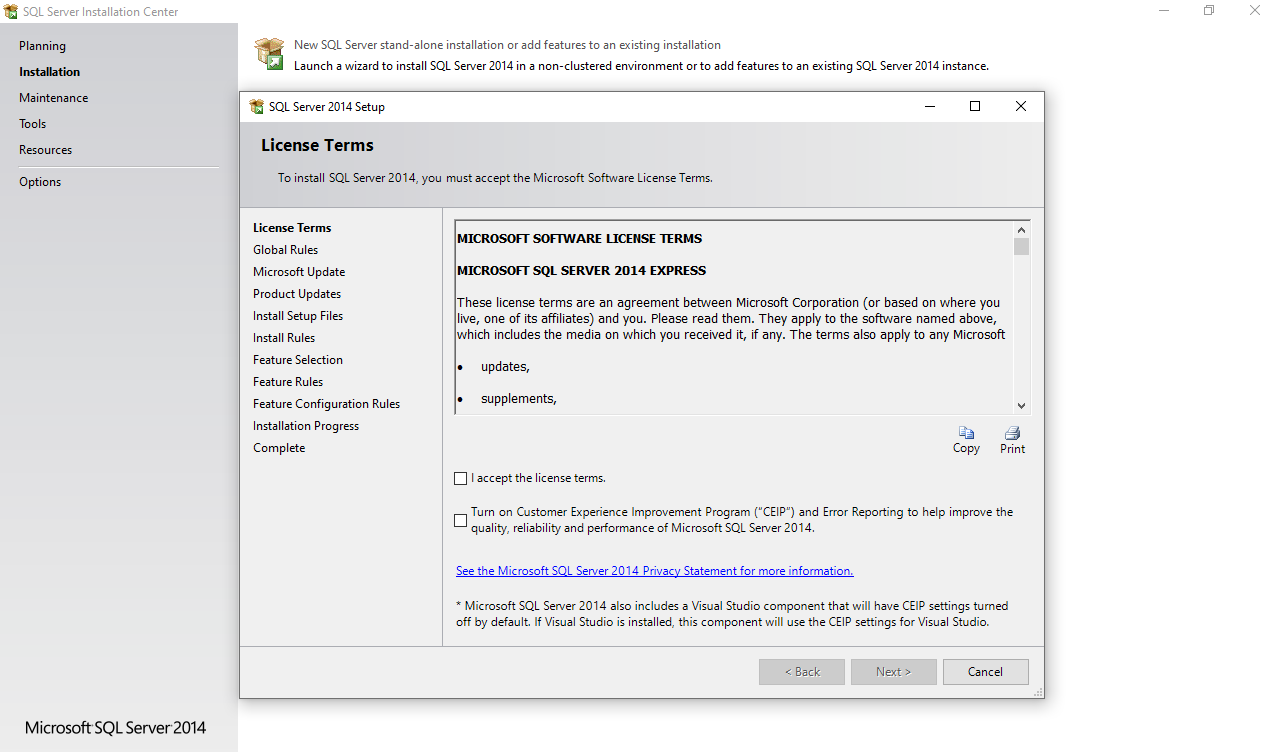
Accept the License Terms and click “Next” to proceed to the next screen
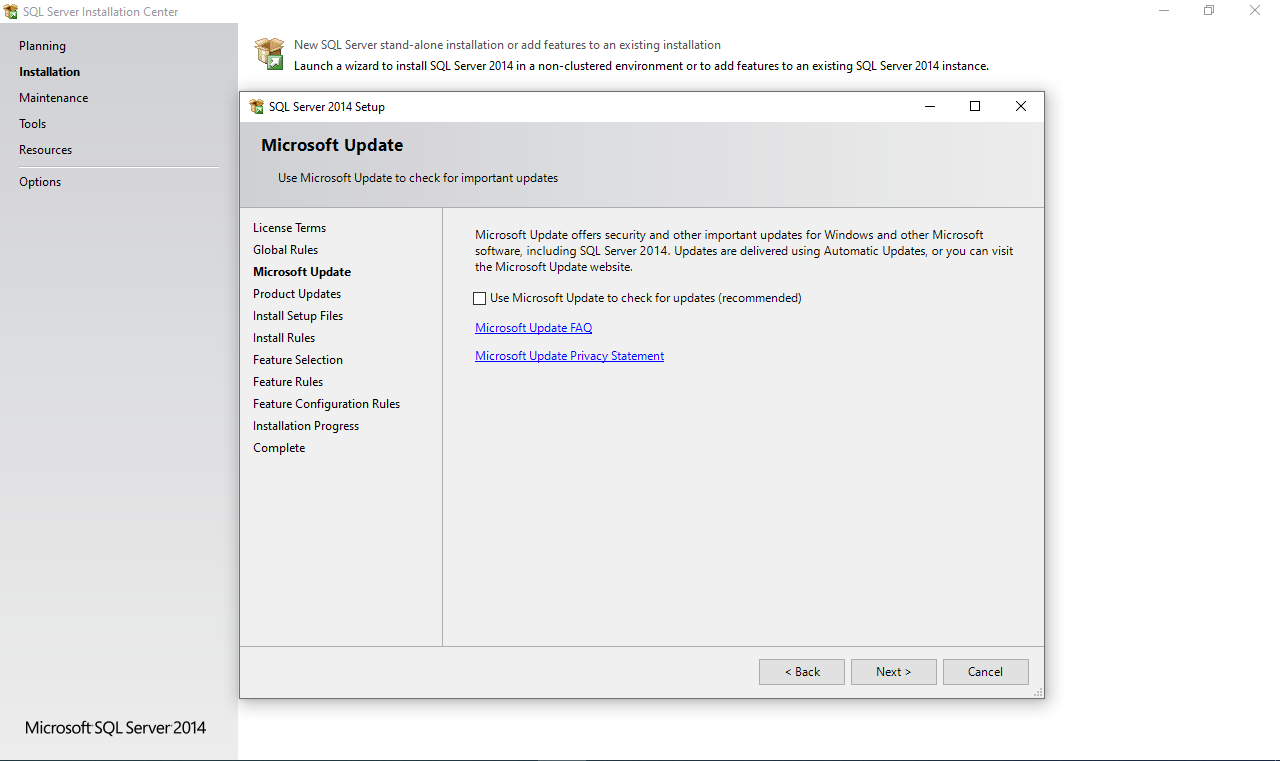
Just Click “Next” when you see this screen, and wait for the next screen
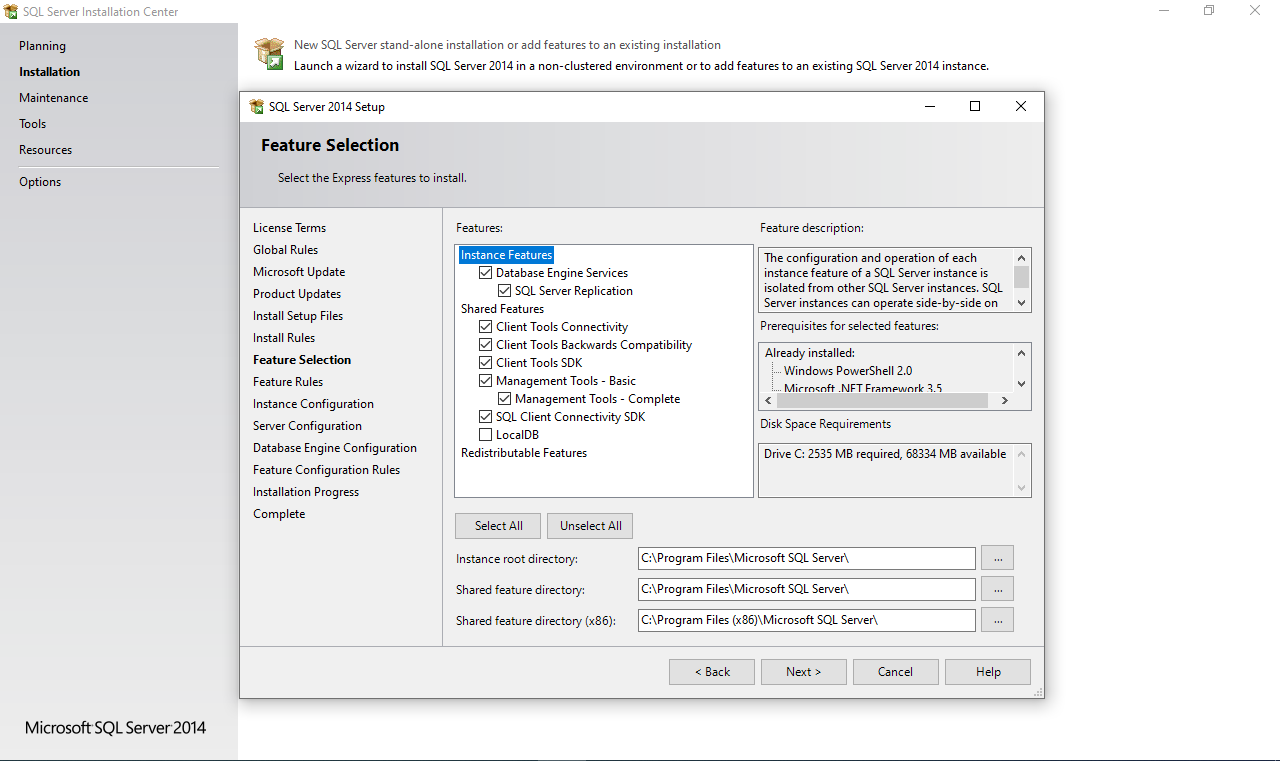
Make sure all the required features are selected except localDB, then Click “Next” to proceed to the next screen
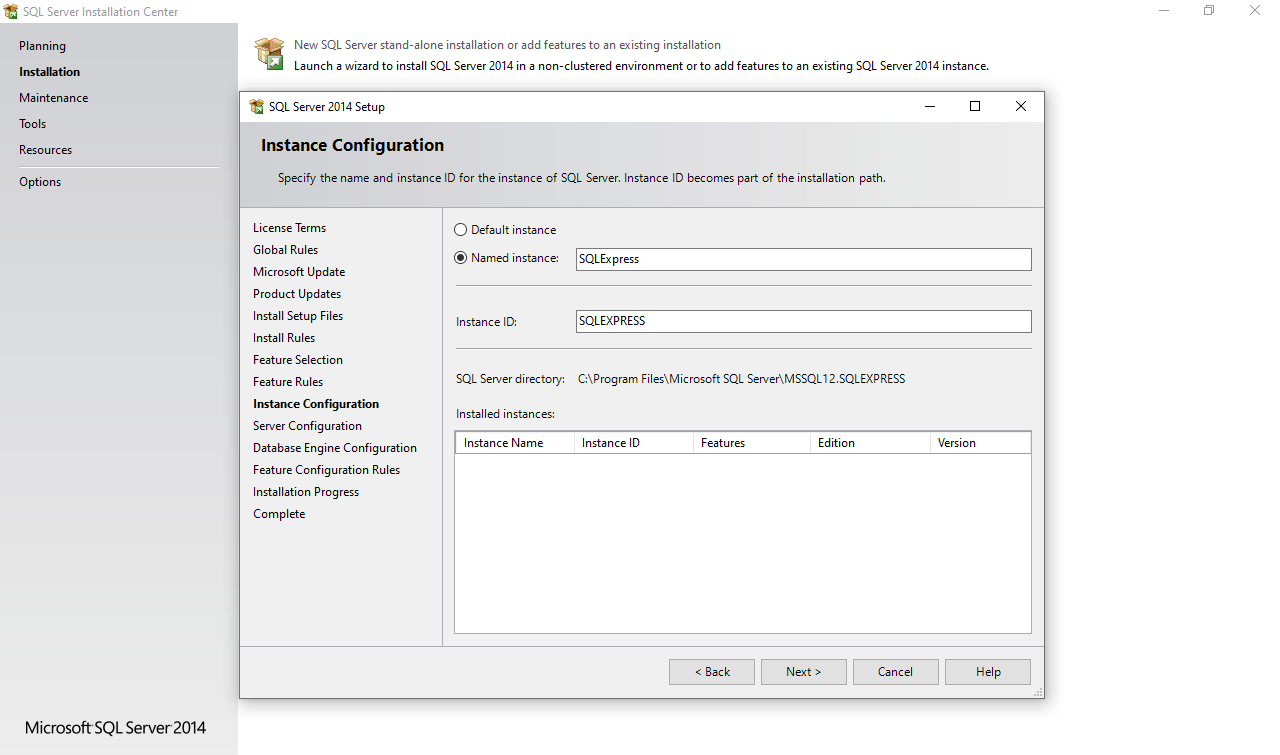
The default Named instance is automatically displayed, Click “Next” to proceed to the next screen
Make sure “SQL Server Browser” startup type is changed from Disabled to Automatic, then click “Next” to proceed to the next screen

Select “Mixed Mode (SQL Server Authentication and Windows authentication)” and then input your desired password for your sql server connection, please take note of the password, as that’s what you will need to authenticate the management software to the SQL Server, then click “Next” to begin installation,

wait until the installation is complete
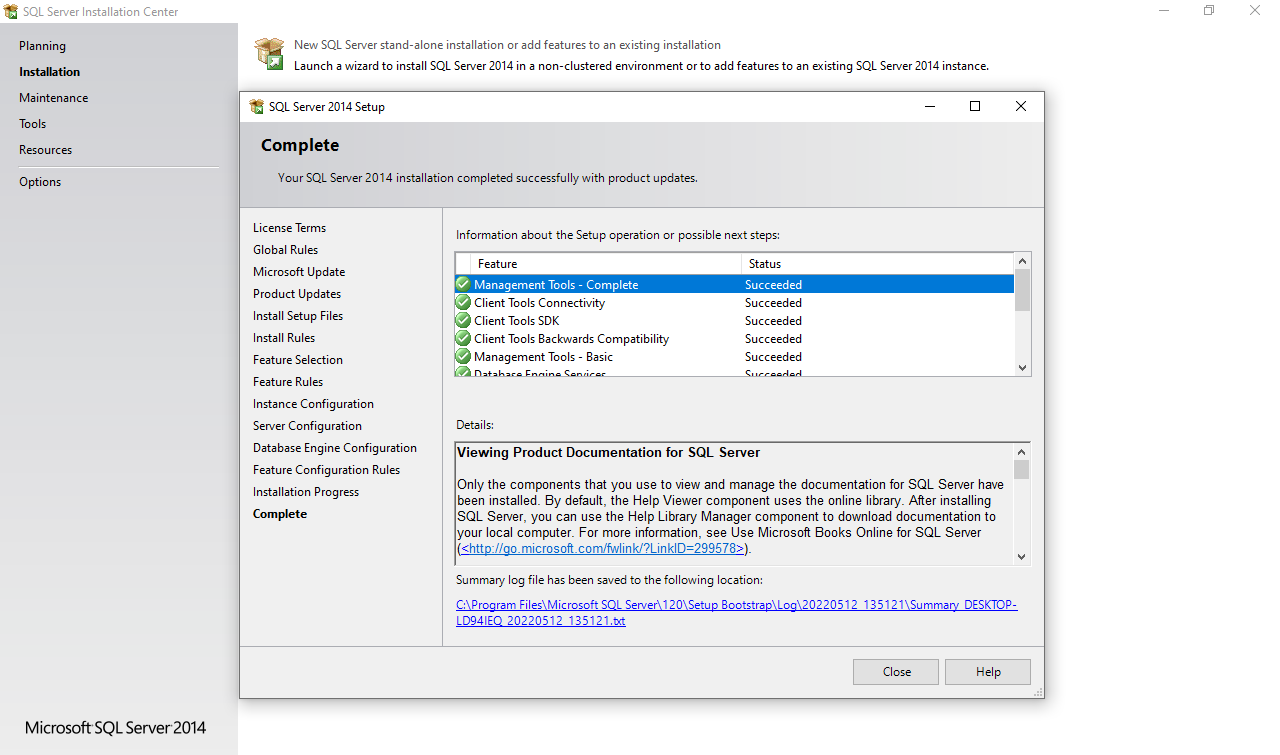
Installation Complete. You can now close the installer.
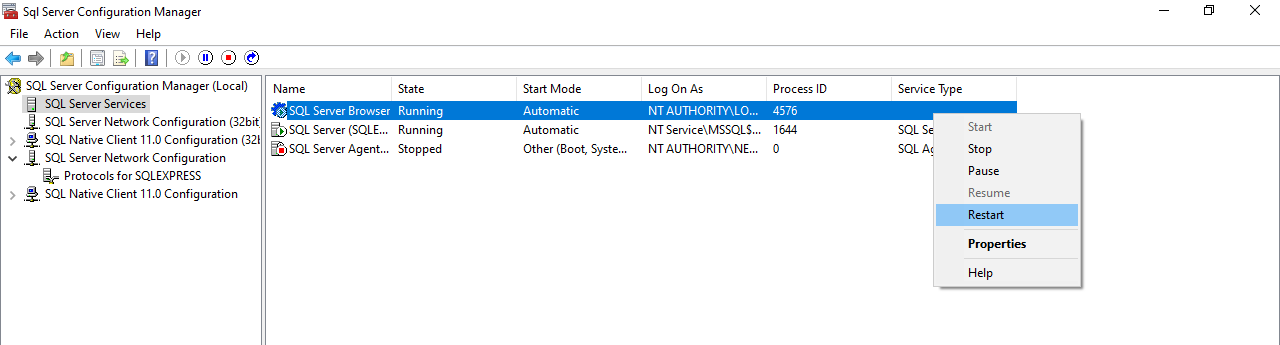
NEXT IS TO ENABLE THE SQL SERVER IP SERVICES
From your start menu locate SQL Server configuration manager, open it,
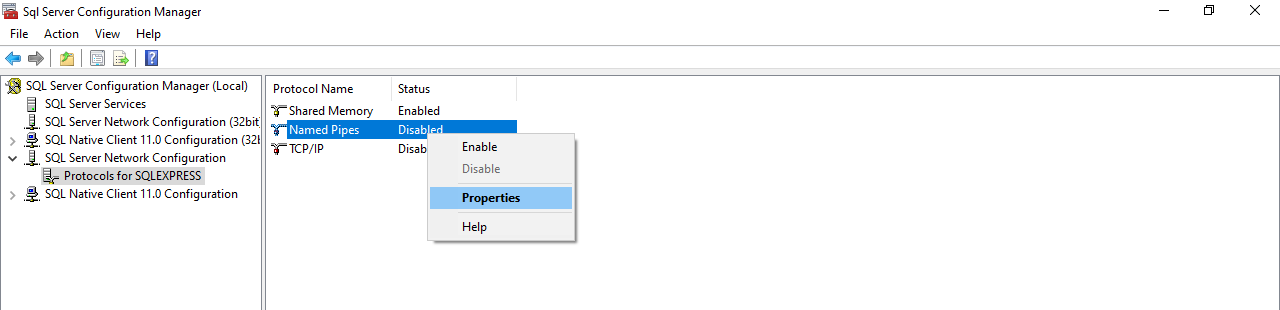
On the configuration page, expand “SQL Server Network Configuration” then on the sub list click on “protocol for SQLEXPRESS”, then right Click on “Named Pipes” and click on Enable, repeat the same for “TCP/IP”. Then on the list by the left click on “SQL Server Services” right click on the service there and click Restart